The Fix
If you missed the diagnosis stuff, it's in the "tech discussion".
So you've decided this is the problem, you've gotten the control assembly either used from salvage or new from a dealer. Now you're wondering how to install it. Well, you're in the right place to find out.
The typical disclaimers apply. If you don't know what the heck you're doing, get out the plastic wrench and pay a mechanic to do it for you. That, or get some appropriate beer. German for VW or Mexican for the likely assembly plant, I'd consider appropriate, but I suppose that's more according to the tastes of your friend. Preferably make payment after the job is done! If you are master amateur mechanic and always “find” extra repairs that are needed during the job because things broke, put the tools down now and back away slowly! Pictures are shown for a late 1995 Jetta GLS. Your car may be a bit different.
First, make sure you've got your four digit radio unlock code. When you disconnect the battery in step 2, the radio will lock out until you punch in the security code. The only way to get it if you've lost it is to go to the dealer.
Second, disconnect the battery. There's a whole bunch more current available in these circuits than you want to touch accidentally. As you could see in page one, some of it is exposed once disassembly is started.
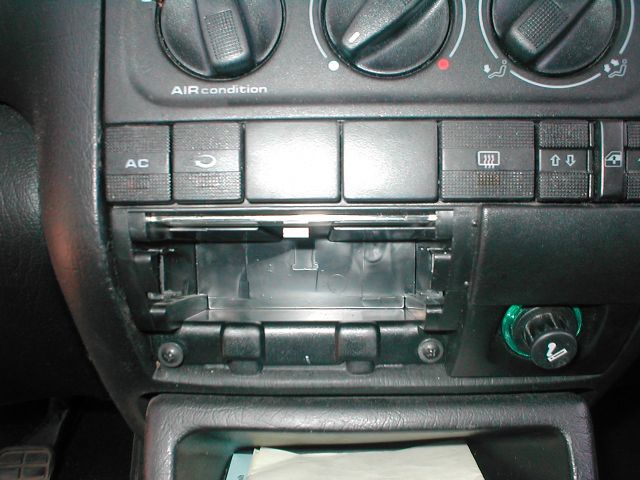
3rd, remove the ashtray and the two screws underneath it.
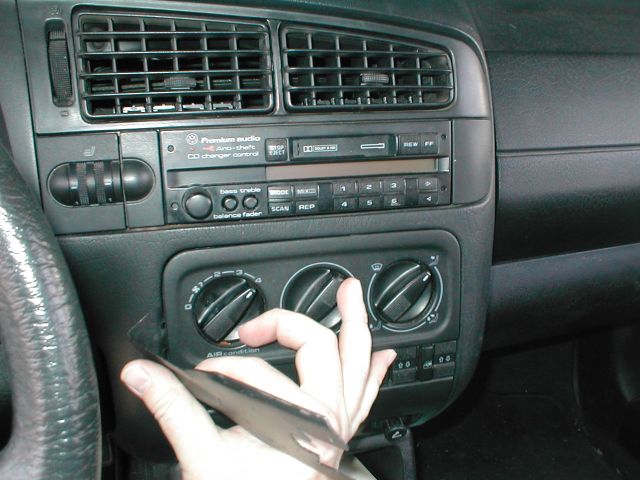
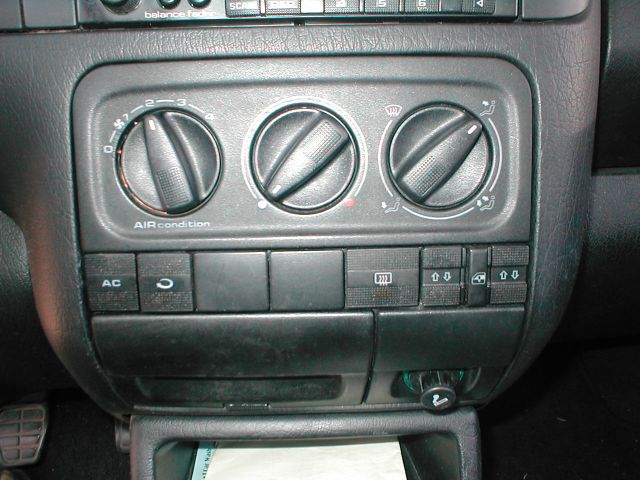
4th, remove the bezel surrounding the three center knobs. Pry it out gently using a thin screwdriver or a trim removal tool.
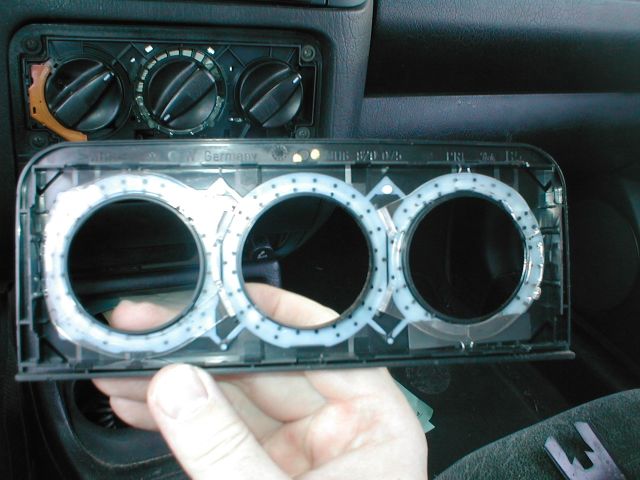
Here's a look at the back of the bezel to maybe help you see where the clips are.
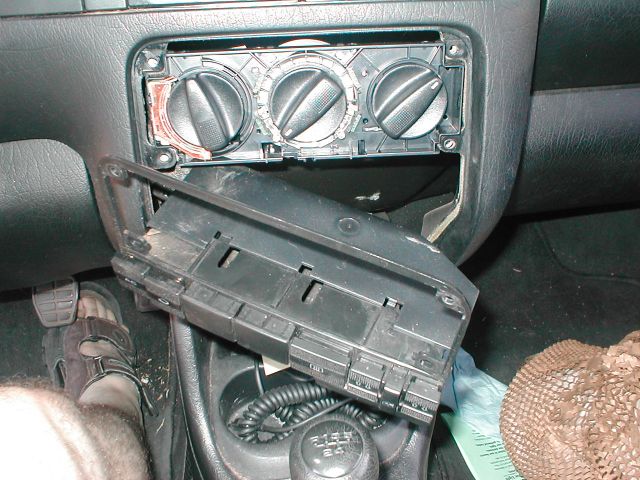
5th, there are four screws holding the assembly in place. Remove them and pull the frame with the AC compressor, recirculation, defroster, and rear window switches forward. There should be a plastic duct or cover over the wires as shown. It will need to be pulled off so there's enough room to move everything around and reach everything.
Looks like I should have shaved my legs for the pictures...
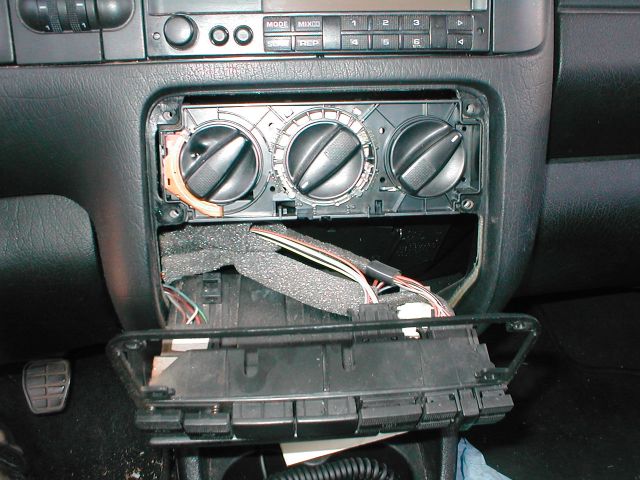
6th, maneuver the climate control assembly out of the dash. Disconnect the wiring harness at the left, and look for damage. Mine had a bit of heat damage evident, but was still essentially intact, so I'm still using it.
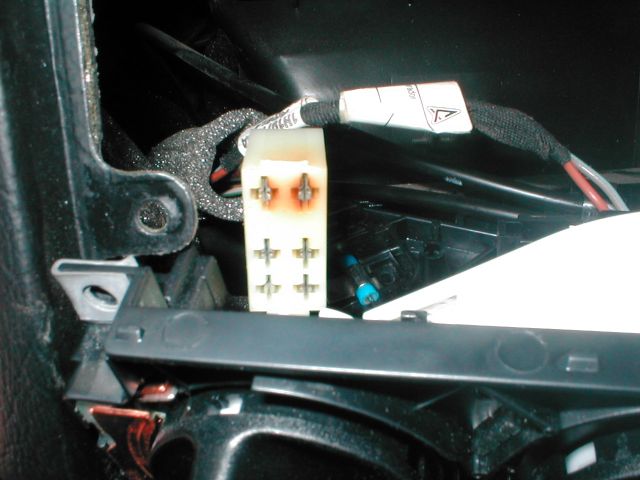
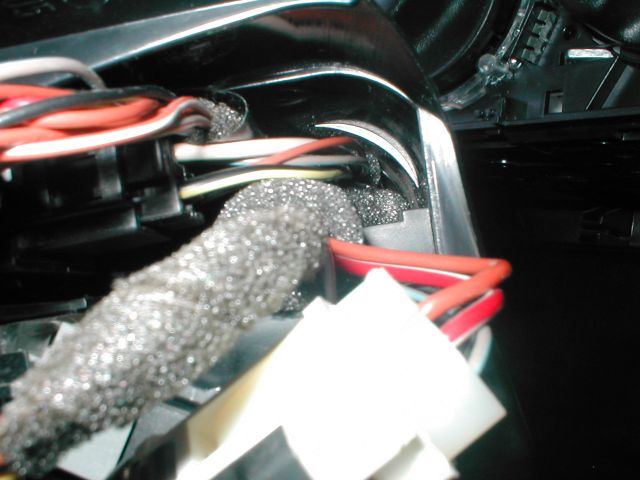
Also disconnect the cables from the back of the assembly. You can see the blue housing in the middle of the above picture. The other two are black and are shown below the red & gray wires. The cables are held in with spring clips.
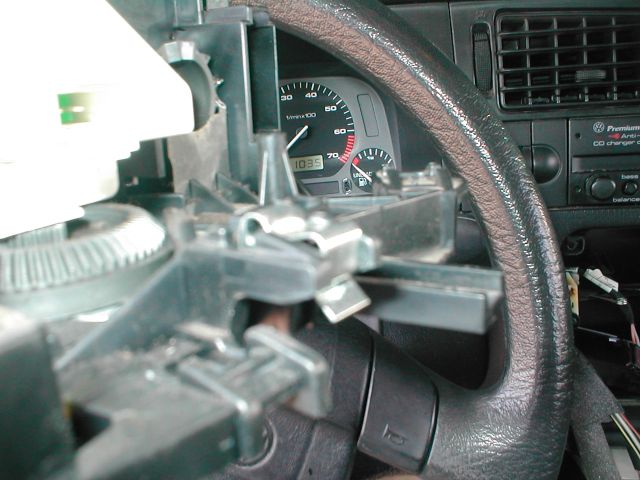
The picture is blurry, but you can see the clip installed on the assembly, without the cable attached. You don't want to put the clip on before the cable, I just put it on the assembly after removing it from the dash to for ease in seeing how the clip works. You can also tell I blew off step 2 as evidenced by the clock still being on. BUSTED!
Here's what the cables should look like when properly attached to the assembly.
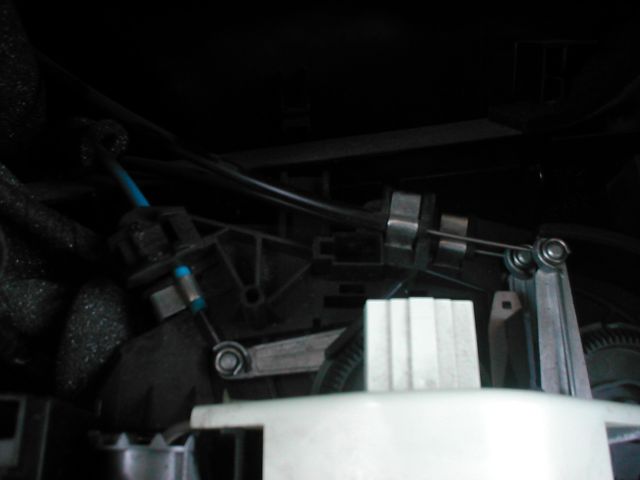
Carefully put everything back together in reverse order. I'd suggest testing the range of motion on the two cable operated controls before putting the assembly back into the dash. If the clips pop off because they or the cables weren't quite properly positioned, they'll go someplace evil. I, uh, had to remove the console to find mine. :(
I don't know if you can tell in this photo or not, but the wiring harness duct for the lower switches needs to clip in. If you don't get it right it will detach and rattle around in the dash.
When putting the bezel back on, it sometimes doesn't seat quit right. It looks like this. The bezel should be slightly recessed from the padding around it.
UR done.